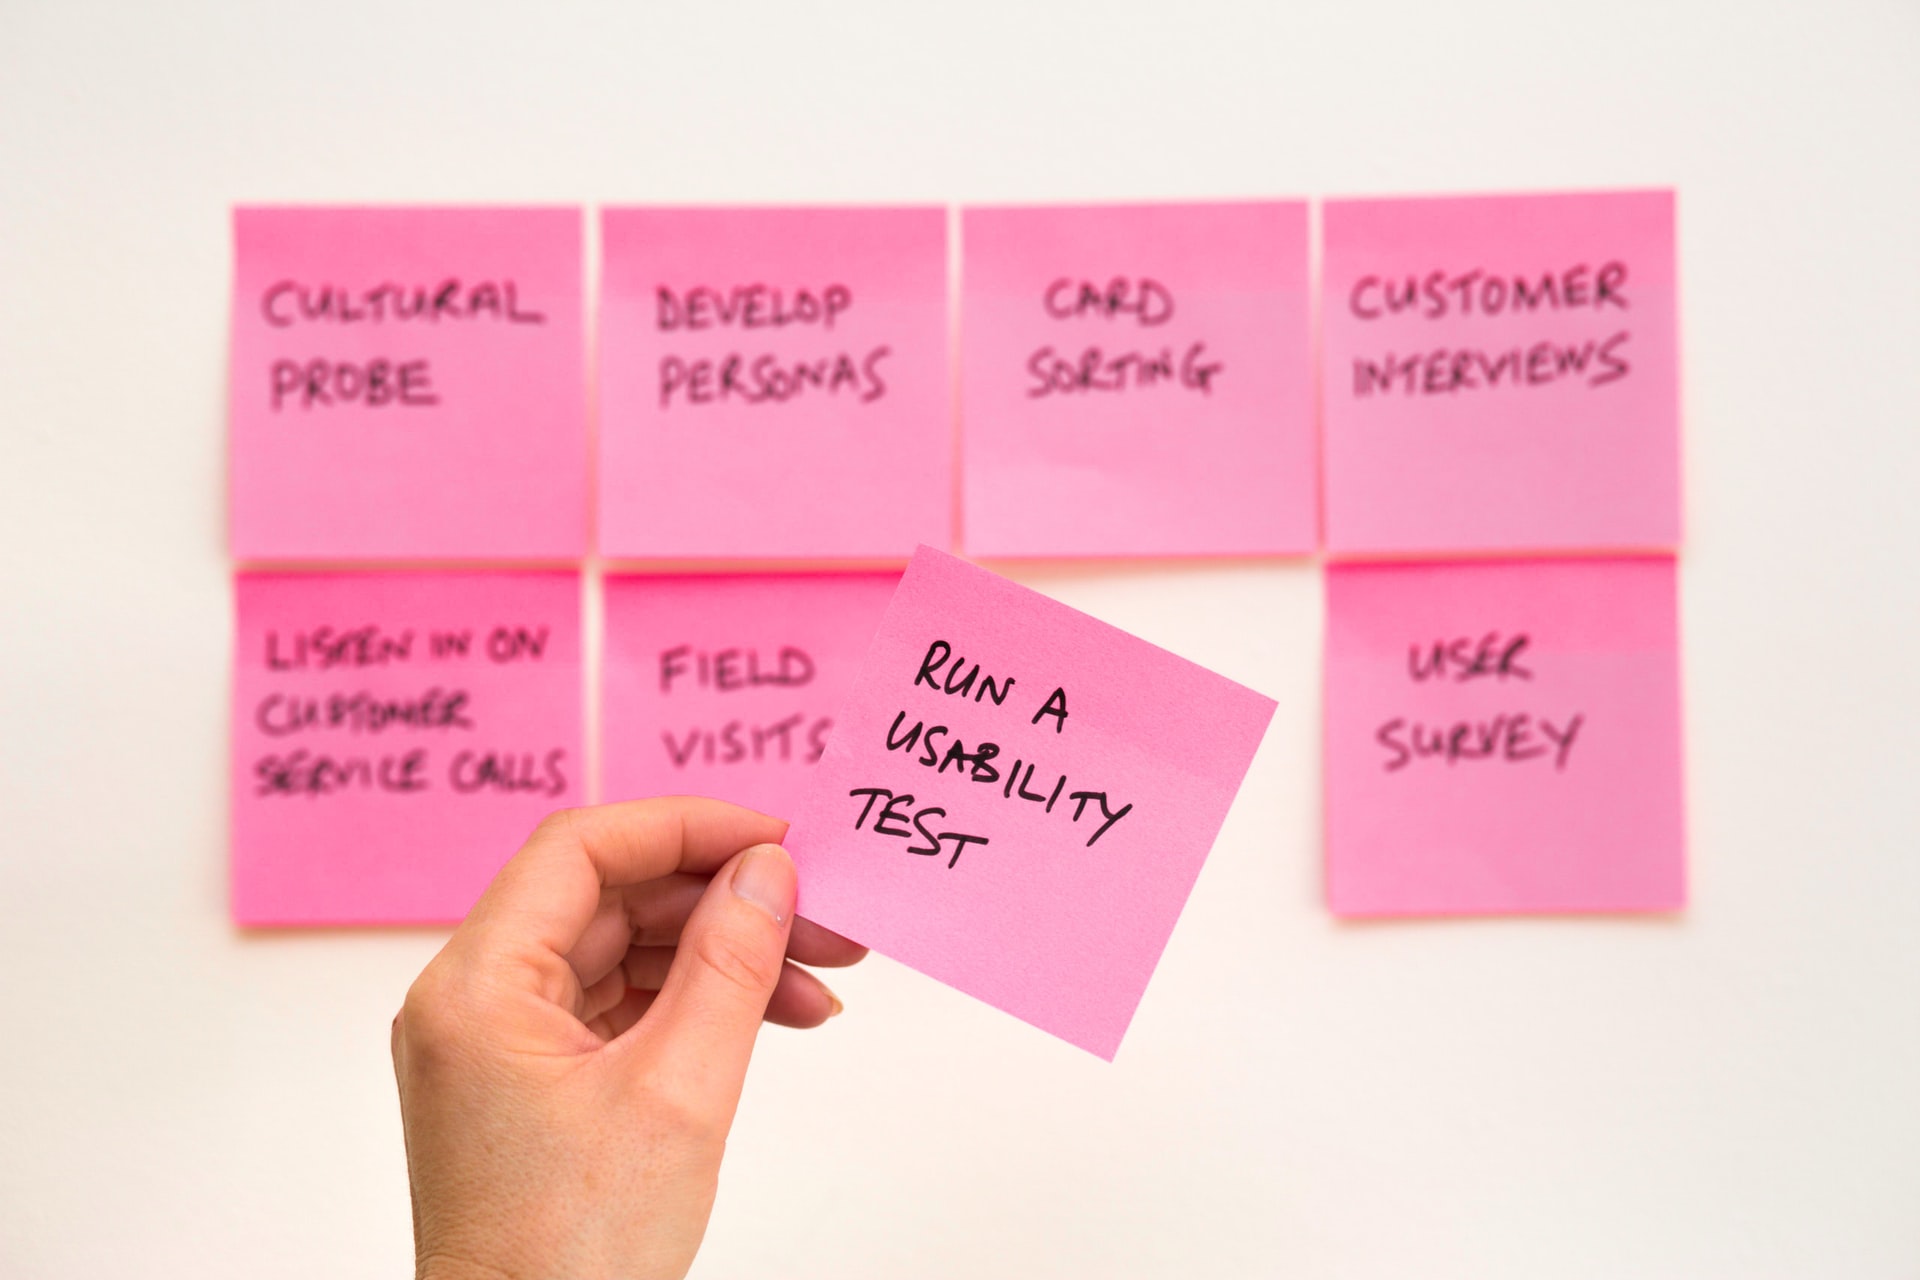
We get a lot of feature requests from users (more than 800 in 2021 alone).
So how do we decide what we should work on?
It's a great question, so I wanted to share the process that goes on behind the scenes for every single new addition to the product – using an actual example.
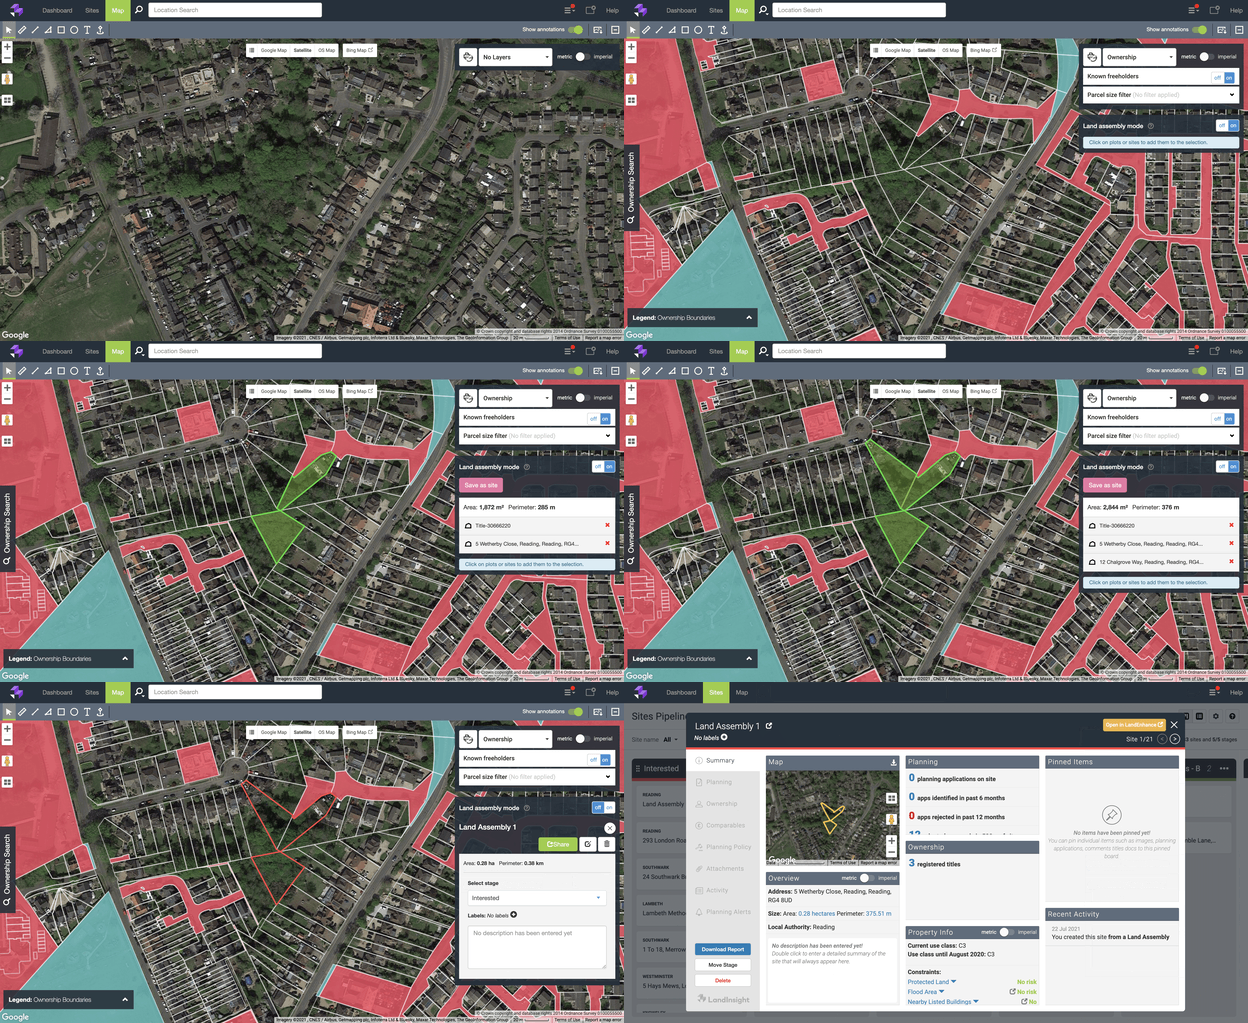
Here's how we made the Land Assemblies feature.

The seven steps to each new LandInsight feature
-
1) Decide what to build
Every single request made to the Product or Customer Growth team gets fed back to the wider company for consideration.
Those requests range from tweaks to existing functionality right through to entirely new products we should consider.
After looking through all the requests on the board, Land Assemblies came up again and again. It seemed a specific pain point that we could help to fix, saving users even more time.
So we set to work.
-
2) Create a prototype
Once we’ve picked a problem to solve, we do some research to come up with some ideas and theories on how to solve it.
We then build out a rough plan based on those hypotheses, which may not be the prettiest thing yet, but it sets us up for the next step…
-
3) Validate internally
The next step is talking to the Customer Growth team and showing them what we’re thinking.
As they're in charge of helping customers grow, and speaking to users every day (plus take most of the feature requests themselves) they have unparalleled insights into what users really need from us.
By getting them involved as early as possible, we can be sure we’re on the right lines before we get too far into something that isn’t quite right.
As it was, they loved both the idea, and the direction. And they had some excellent ideas for customers we should speak to, leading to...
-
4) Test externally
Now we know we’re on the right lines, time to get users involved.
We have a pool of users we call on, and for all new features, we get a mix of specialties, business sizes and technical experience to make sure that we have a good cross-section of our user base.
Interested in becoming a beta user and getting not only a sneak peek at what we’re launching, but a direct influence into how it might work? Email me here.
For Land Assemblies, that saw us sitting down with seven users that fit our test criteria.
We set them five tasks, and for each task we measured:
- Task success (direct success, indirect success, or failure to complete the task)
- How difficult it was to complete the task (on a scale of 1 to 7)
- Overall satisfaction with our proposed solution to this task (on a scale of 1 to 5)
Then we asked some open-ended questions, such as:
- When saving a land assembly, how do you typically name the site?
- How often do you have a need to create non-adjacent land assemblies? In what scenarios is this useful?
Lastly, we followed up with overall scores from each person, ranking how useful they found the tool (scale of 1 to 10) and how satisfied they were with the solution (scale of 1 to 5).
The results? Things were looking promising.
It also flagged another key feature we should add – it’s common for users to want to combine non-adjacent sites into a single land assembly (like if they’re separated by a road).
It was good to know this early. It made things a little more tricky on the technical side, but if it would help users it was worth the challenge.

-
5) Refine based on feedback
Based on the data and the qualitative feedback, we then make tweaks to improve things and turn it from “OK” into “this is exactly what we need!”
With land assemblies, for instance, in the initial prototypes we tested placing the "Land Assembly Mode" toggle in the Drawing Toolbar (upper left) to keep everything together.
What we found though was that users were less likely to notice it when it was with everything else, so we could boost the ease-of-use simply by moving it along to its own area on the right side of the screen.
A small tweak that had big results.
-
6) Finish the designs and start building
Once we know for sure how it’ll look and work, it’s over to the Engineering team to get it built.
How long this process takes can vary wildly depending on the detail and complexity of the feature (and we’re never working on just one thing).
We then run in-depth quality assurance tests on everything we upload, to make sure the new features work as they should, but also to make sure it doesn’t break anything else along the way.
-
7) Get it live
Finally, we’re ready to hit the big red button.
In the end for the Land Assemblies feature, from start to end it took about three months.

Want the inside scoop on what we work on next?
As a business, our ethos is to always build what we know will offer the most value for users.
Often, that'll be the most-requested features that come in. But on top of that, we have a whole heap of feature ideas that we know will be huge, yet users have never thought to ask for.
Want to see what we're working on before it goes out to everyone else?
Drop me an email and I'll add you to the beta tester pool.
